-
EC2 GitLab 설치GitLab 2024. 7. 30. 10:35
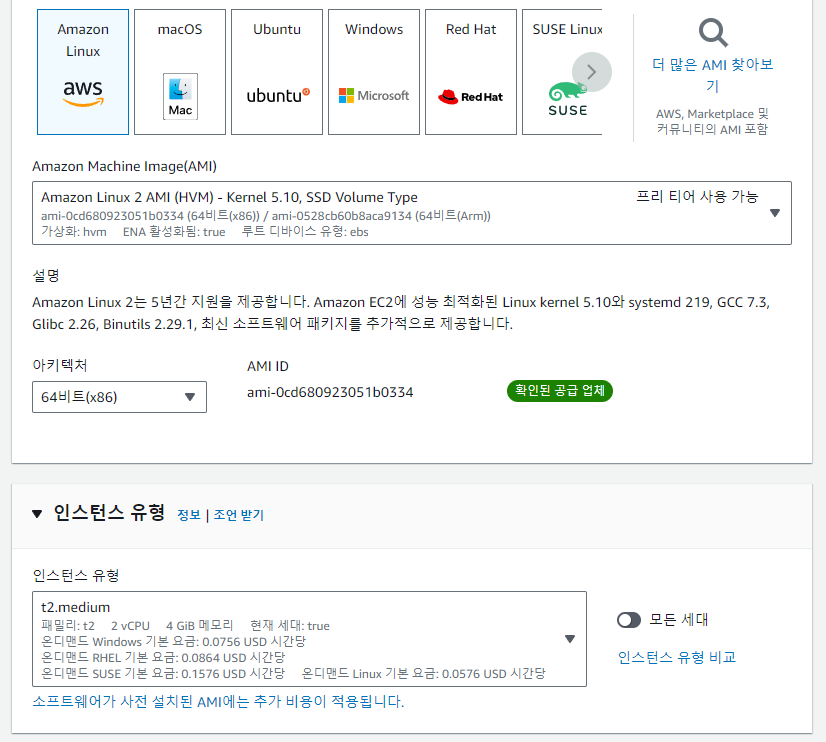
- AMI : Amazon Linux 2, 2023
- 인스턴스 유형 t2.medium

- 인바운드 규칙

- docker 설치
sudo yum update -y
sudo amazon-linux-extras install docker
sudo yum install -y docker
sudo service docker start
docker --version
# sudo를 사용하지 않고도 Docker 명령을 실행할 수 있도록 docker 그룹에 ec2-user를 추가
sudo usermod -a -G docker ec2-user
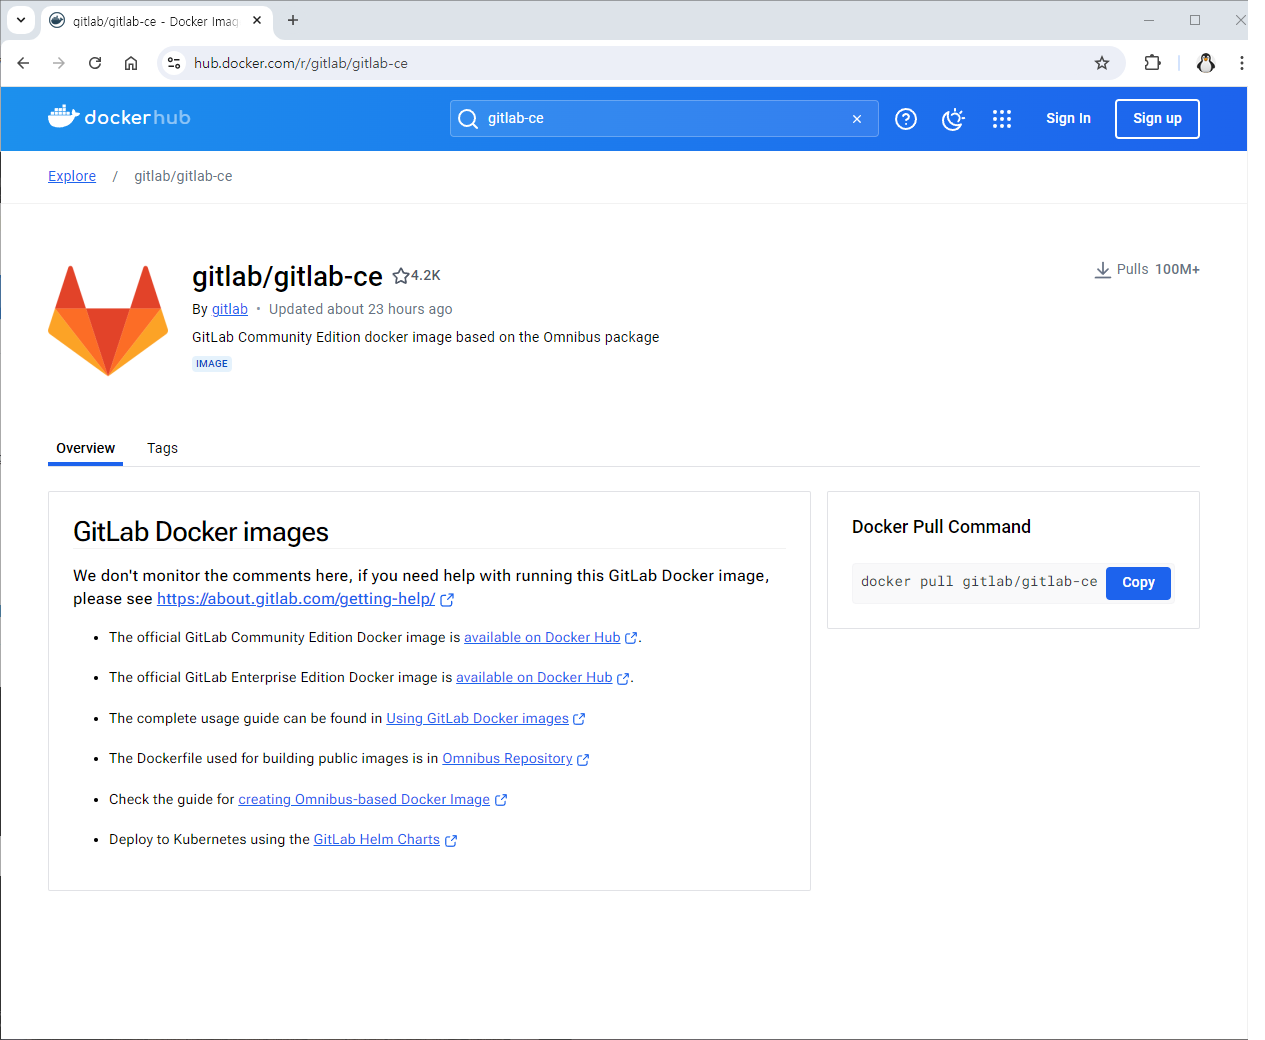
- gitlab 이미지를 이용해서 컨테이너 생성


- 타임존 변경하기
# UTC Asia/Seoul 시간으로 바꾸기
rm /etc/localtime
sudo ln -s /usr/share/zoneinfo/Asia/Seoul /etc/localtime
date
- docker compose 설치 (플러그인 수동 설치)
DOCKER_CONFIG=${DOCKER_CONFIG:-$HOME/.docker}
mkdir -p $DOCKER_CONFIG/cli-plugins
curl -SL https://github.com/docker/compose/releases/download/v2.29.1/docker-compose-linux-x86_64 -o $DOCKER_CONFIG/cli-plugins/docker-compose

chmod +x $DOCKER_CONFIG/cli-plugins/docker-compose
sudo chmod +x /usr/local/lib/docker/cli-plugins/docker-compose
https://docs.docker.com/compose/install/linux/
Install the Compose plugin
Download and install Docker Compose on Linux with this step-by-step handbook. This plugin can be installed manually or by using a repository.
docs.docker.com
- docker-compose.yml
version: '3.6'
services:
  web:
    image: 'gitlab/gitlab-ce:latest'
    restart: always
    hostname: '13.125.91.22' # IP
    environment:
      GITLAB_OMNIBUS_CONFIG: |
        external_url 'http://13.125.91.22:80' # IP:PORT
            gitlab_rails['gitlab_shell_ssh_port'] = 22
            nginx['enable'] = true
            nginx['listen_port'] = 80
            nginx['client_max_body_size'] = '16G'
      GITLAB_TIMEZONE: Asia/Seoul
    ports:
      - '80:80'
      - '443:443'
      - '2222:22'
    volumes:
      - './gitlab/config:/etc/gitlab'
      - './gitlab/logs:/var/log/gitlab'
      - './gitlab/data:/var/opt/gitlab'
      - './gitlab/backups:/var/opt/gitlab/backups'
    shm_size: '256m'
# docker compose 설치 DOCKER_CONFIG=${DOCKER_CONFIG:-$HOME/.docker} mkdir -p $DOCKER_CONFIG/cli-plugins curl -SL https://github.com/docker/compose/releases/download/v2.29.1/docker-compose-linux-x86_64 -o $DOCKER_CONFIG/cli-plugins/docker-compose chmod +x $DOCKER_CONFIG/cli-plugins/docker-compose docker compose version # gitlab 컨테이너 생성하기 docker pull gitlab/gitlab-ce mkdir gitlab cd gitlab vi docker-compose.yml docker compose up -d # 수정된 내용이 있을 때 아래 명령어 사용 docker-compose up --force-recreate -d # gitlab 컨테이너 접속 docker exec -it gitlab-web-1 /bin/bash # external url을 쓰기 위해 gitlab.rb 파일을 수정해야한다. vi /etc/gitlab/gitlab.rb # 볼륨의 파일을 수정해도 된다. # vi /home/ec2-user/gitlab/gitlab/config/gitlab.rb # 파일 수정 후 적용 # 수정 적용을 위해서는 컨테이너 속에서 해당 명령어를 입력해야한다. gitlab-ctl reconfigure # 초기 비밀번호 확인 cat gitlab/config/initial_root_password- docker compose 파일 실행
- docker compose up -d
- docker compose 파일 수정 후 재실행 명령어 -> 컨테이너가 새로 만들어진다.
- docker compose up --force-recreate -d
- 23년 하반기에는 docker-compose -를 붙여도 실행이 됐는데 24년 현재 기준 - 빼야 명령어가 실행된다.


- 컨테이너 접속 후 gitlab.rb 파일을 수정
- docker exec -it gitlab-web-1 /bin/bash


- gitlab.rb 파일 수정 적용
- gitlab-ctl reconfigure
- volume으로 연결된 아래 경로의 gitlab.rb 파일을 수정한 후 컨테이너에서 gitlab-ctl reconfigure
- /home/ec2-user/gitlab/gitlab/config/gitlab.rb


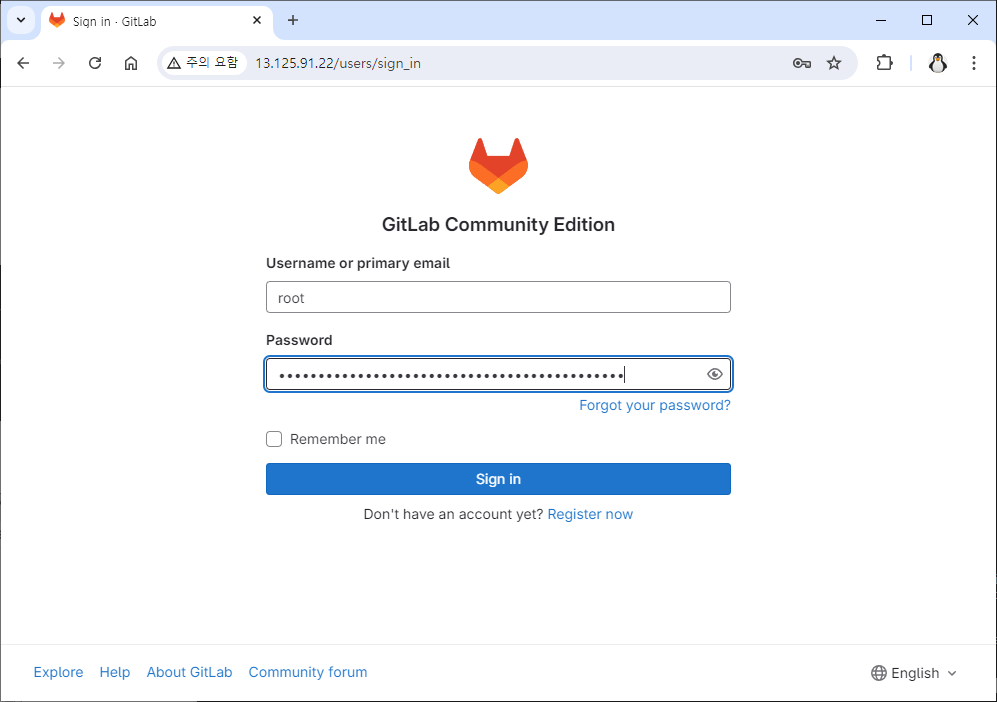
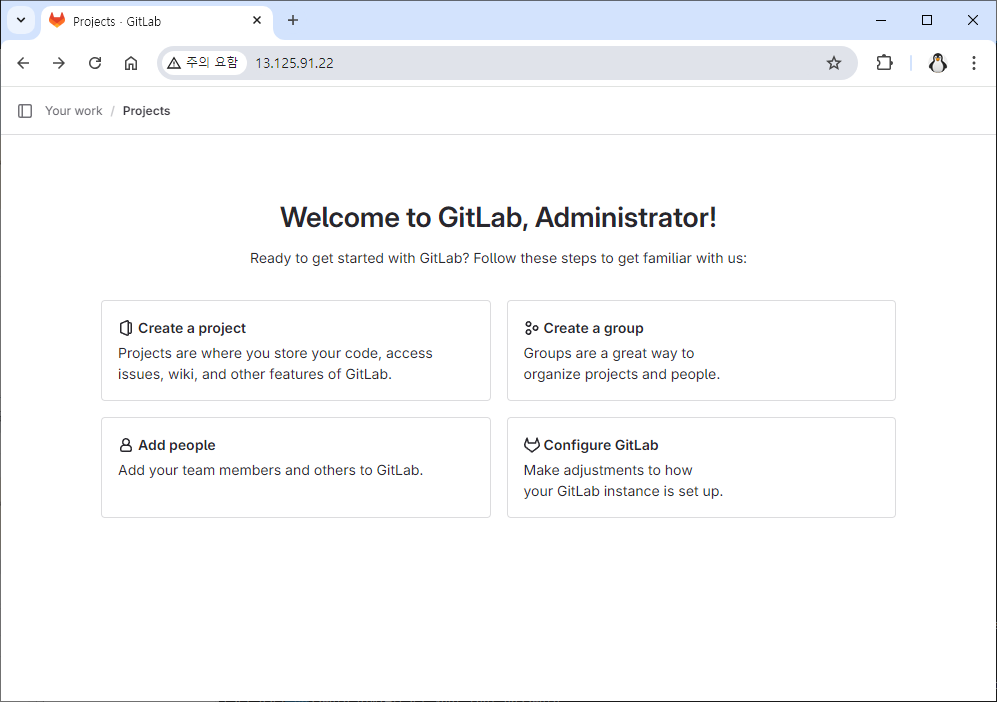
- 초기 비밀번호 확인 후 접속한다.
- cat gitlab/config/initial_root_password


- 온프레미스 환경에서 Gitlab 서버 구축 후 매뉴얼을 만들어둬서 AWS 상에서 구성하는 데 도움이 되었다.
- 문서로 기록하는 것과 작성 후 버전 업데이트 하는 것이 중요하다는 것을 깨달았다.
'GitLab' 카테고리의 다른 글
EC2 인스턴스 유형 변경 (0) 2024.08.01 EC2 인스턴스 EBS 볼륨 수정 (0) 2024.08.01 EC2 GitLab Runner 설치 (0) 2024.07.31 Admin 계정 정보 수정, Member 초대 (0) 2024.07.31 GitLab SMTP 설정 (1) 2024.07.31